|
| quote: | Originally posted by alanzo
Unfortunately, my picture isn't as awesome as Cryo's.... but my Nikon digicam also only cost $100. I believe Cryo's said that he now has *two* expensive hobbies. 
|
Yeah, my wife and I have invested a lot on camera gear over the past 15 years or so, but it's not the cost of the equipment that makes the photo. You can get similar results with your camera just by doing two things:
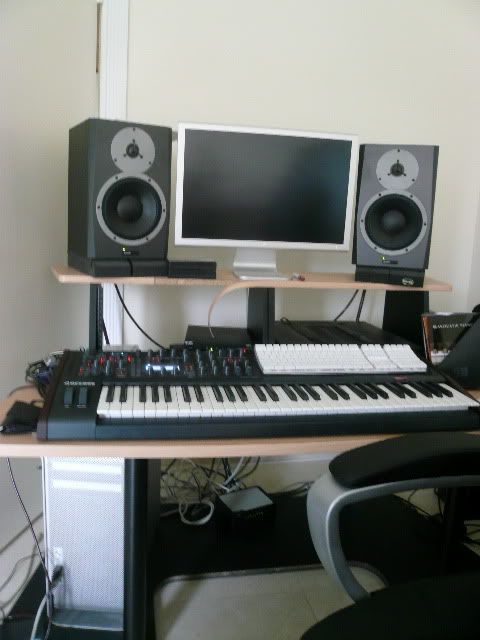
1) Change your white balance or, better yet, use a custom white balance if your camera has it (most cameras do nowadays). Your photo has too much yellow in it, but you can either use a white balance setting for indoor lighting, or, preferably, use a custom setting. Most of them work by taking a picture of something that is white (e.g., a piece of paper) in the same light as the photo (make sure it fills most of the frame), then setting the camera to reference that photo for the white balance. This tells the camera what white should like and it will make the necessary compensation internally. Check your manual - it's pretty simple and quick to do and will drastically improve the color of your photos.
2) Monitor screen wash-out is a common problem with studio photos, so I use a somewhat more involved, but simple, process to solve that problem. You'll need a tripod (or something solid to place your camera on where it won't move) and some basic photo-editing software. Put your camera on manual or aperture priority mode and mount it on the tripod. Get a good photo that is exposed for the room (the monitors will be washed out). Then, without moving the camera (VERY IMPORTANT), turn the exposure down by one or two full stops so that it exposes the monitors correctly (the rest of the room will be dark). You may want to take a few underexposed photos (e.g., 1, 1.5, 2 stops under-exposed) just to make sure you get a usable one. Put both photos in your photo editing software with the correctly exposed one as the top layer and the one with the monitors properly exposed as the bottom layer (make sure they are perfectly aligned by turning the top layer off/on.). Then, just erase the washed-out monitors from the top layer using your polygon tool (draw a box within the video screen of the top layer and delete the contents from the top layer) and/or erase tools. This will leave the correctly exposed monitor screens showing through. Flatten the image and export it. Done.
That's exactly what I did for the photo above and it only took about 10 minutes total time from taking the photos to processing them.
| quote: | Originally posted by alanzo
That's my cat Oreo taking a rest on the Andromeda.
|
You should've named him "Patches". Hehe. He programs your sounds, doesn't he?
___________________
cryophonik.com | facebook | soundcloud
Sonar Platinum | Ableton Live 9 | Logic Pro X | Access Virus TI2 Keyboard | Kurzweil PC3X | Nord Lead 4R | NI Maschine
|


 !!!
!!!
